Tuesday, July 31, 2018
How to Use Puppet Warp Tool in Illustrator CC 2018 Video
How to Use Puppet Warp Tool in Illustrator CC 2018 Video

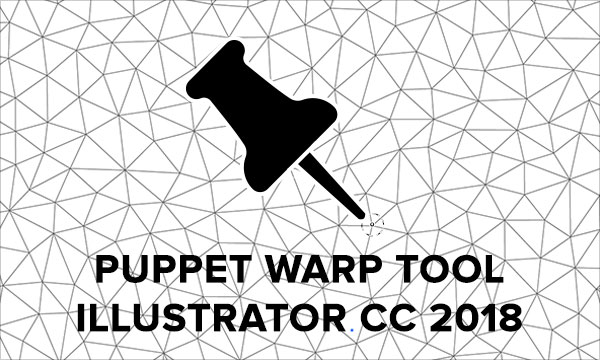
One of the new and exciting features in Illustrator CC 2018 is Puppet Warp tool. In this tip, I will explain to you why and how to use Puppet Warp to distort and twist parts of your artwork. The best part is that it is easy and intuitive to use Puppet Warp. On top of all this tool is producing results which appear natural.
Video tutorial
Here is my video recording which contains details and steps to activate and use Puppet Warp tool in Illustrator CC 2018. As always I will like feedback from you. If you have any question or difficulties to use Puppet Warp, please do not hesitate to leave comments.Watch this video on YouTube.
Transcript
Hi guys, in this tip I will explain to you how to use Puppet Warp tool which is available in Illustrator CC starting on October 18th, 2017 update or in other words Illustrator CC 2018.Using Puppet Warp tool you can quickly and easily transform parts of your artwork. The strength of this tool is that it is producing transformations which appear natural.
The very first step is to select artwork you want to transform. In this case, there are two separate characters which are grouped into two groups in the Layers panel. I will select both of them using Selection Tool.
The next step is to activate Puppet Warp tool from the Tools panel.
The third step is to click on artwork to add pins. Pins allow you to pin parts or areas which you want to anchor in place.
While adding pins Illustrator will show mesh which can be helpful while placing pins. If you want to hide mesh go to Properties panel and uncheck Show Mesh option. If you do not see Properties panel go to Window menu and click on Properties to display this panel.
Lets go back to pins. A minimum number of pins for good results is three.
Beside pinning or anchoring some areas you can use a pin to twist and distort areas in your artwork.
Here is how it works: click on the pin and drag it to transform the artwork. If you want to use multiple pins for transformation hold down Shift key while selecting pins.
Pins which are not active will hold nearby areas intact.
To twist artwork you must have single pin active or selected. Position cursor near the pin. Your cursor should be inside the dotted circle but not over the pin. Drag to rotate the mesh or areas of your artwork.
Another option that I want to mention is Expand Mesh which is available from Properties panel or from Control panel if you are using Essentials Classic workspace.
Sometimes you will have more than one object selected, as in this case. Expand Mesh can help you to distort nearby or separate object without even to place pins.
Lets see how Expand Mesh feature works. I will turn on Show Mesh and start expanding mesh. When mesh of one object touch or overlap mesh of another object it means that second object will be affected with distortion. Let me prove my statement by dragging pin which is placed on my first object on the left side. As you can see, the second object is affected without to drag any pin placed on it. The second object actually does not have any pin in this case. How much and which areas on the second or nearby object is affected depends on pins placed on that object and Expand Mesh value.
The last thing I want to present is how to delete placed pins. Select pin or pins that you want to delete then press Backspace or Delete on your keyboard to delete selected pins which have a white dot inside.
So thanks for watching and cheers! If you have any question or difficulties to use Puppet Warp, please leave comments on YouTube or my blog which is DesignEasy.
If you find my tutorials useful please subscribe to my channel and share my videos with your friends.
Product used in this tutorial:
Adobe Illustrator CC 2018
Reference:
Illustrator - Whats New
Warp, pose, and sculpt your artwork easily
Subscribe to:
Post Comments (Atom)
No comments:
Post a Comment
Note: Only a member of this blog may post a comment.